
How to Compress a Video for Email: A Comprehensive Guide

If you have ever tried sending a video through email, you know how difficult it is. Email services have a very small file limit for attachments (25 MB for most), which is just not enough for a video.
Depending on the resolution, even a minute of footage might be enough to cross this threshold. How are you supposed to email videos, then?
Simple—you need to compress them first. Let’s find out how.
What is Video Compression?
When you record and save a video, it is stored in a specific file format. This file format makes it easy for the device to play the video on demand, but it is usually not the most efficient method for storage.
That is where video compression comes in. Just like you can compress documents into a zip file to reduce file size, you can also compress a video to take up less space without deleting anything.
Even better, videos open new methods of compression that can go further than a zip file. A slightly reduced bitrate or resolution has minimal impact on the video quality but can significantly reduce its file size.
Advanced methods, like inter-frame compression, can further reduce a video’s file size by encoding it differently. This is how streaming services like YouTube can serve quality video streams with very little data.
We can use the same techniques to compress a video for email. The goal is to get the file size down to 25 MB or below, allowing you to attach and send videos easily.
How to Compress a Video for Email
Compressing a video for email can seem daunting, but don’t worry. We'll walk you through the entire process, from picking the software to using it.
Choosing the Right Software
There are many video compression applications and cloud services available online. However, most of them are paid services that offer very limited functionality for free.
Examples include cloud services like Veed.io and Clideo. They have simple UIs and work straight from the browser, but have restrictions on free usage. In addition, they put watermarks on videos compressed for free, which is a significant downside.
Fortunately, there are a couple of great free video compression tools as well. The best is the open-source software HandBrake. It can be used to convert or compress videos freely on any PC, Windows, Mac, or Linux.
Surprisingly, another good option is the VLC media player. Although it is primarily a video player, it also has built-in options for compressing videos.
Step-by-Step Guide to Compressing Your Video
Now, let’s review the complete process for compressing a video. We will first prepare the video and then demonstrate compressing it with HandBrake and VLC.
Preparing Your Video
Preparing a video for conversion is easy. Just ensure it is in the right format (check the formats supported by HandBrake and VLC) and back up your video.
Creating a backup is crucial. Many people overlook this step and ultimately have no original video copy left to make modifications.
Video compression can reduce the quality of the video, so you may want to tweak the settings to try again in case the end result doesn’t look good. This is why you always want to create a backup of the original video before you start compressing it.
Using HandBrake to Compress Video
Here are the steps to compressing a video using HandBrake:
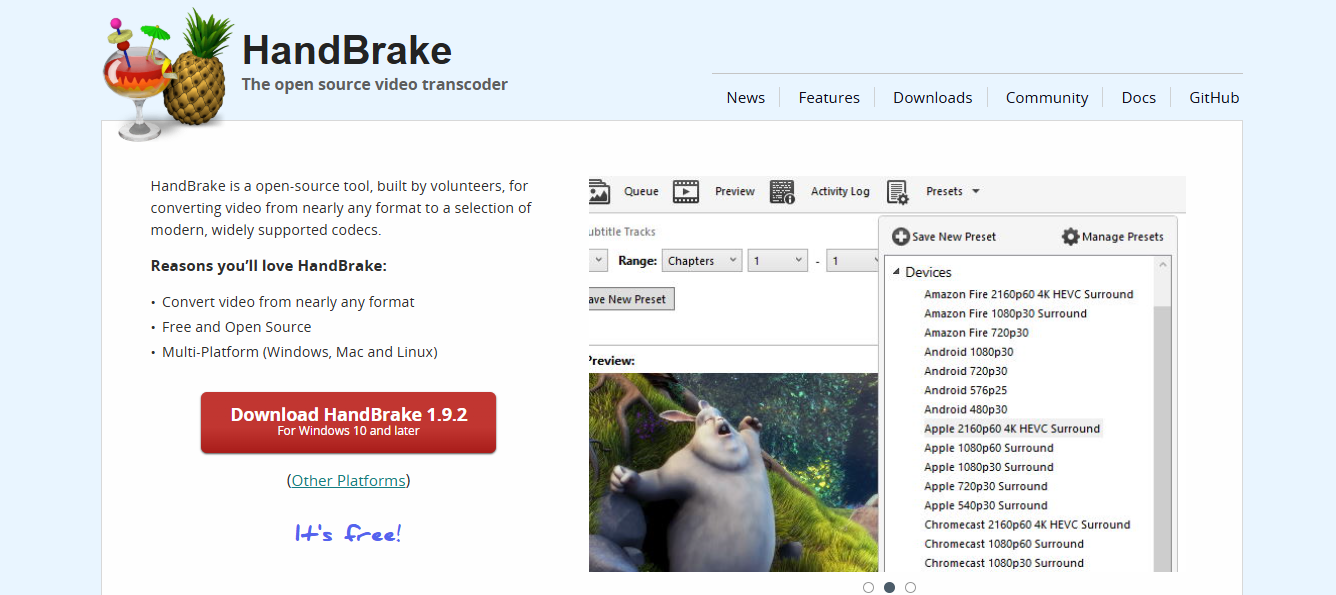
- Download HandBrake from the official website. It is a free and open-source software (FOSS). The site will auto-detect the OS you are using and provide the correct installer for it.
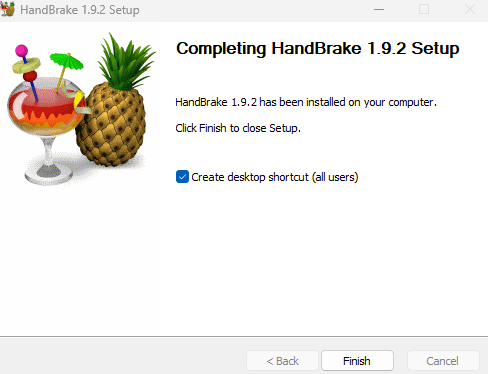
- Run the downloaded setup to install HandBrake on your PC. It is a small application, so you don’t need that much disk space for it.
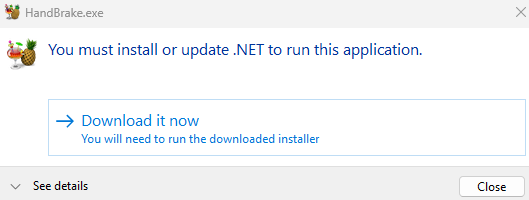
- HandBrake needs the .NET runtime to work, so you might also be prompted to download it when you try running the application. You will need to install it to proceed further.
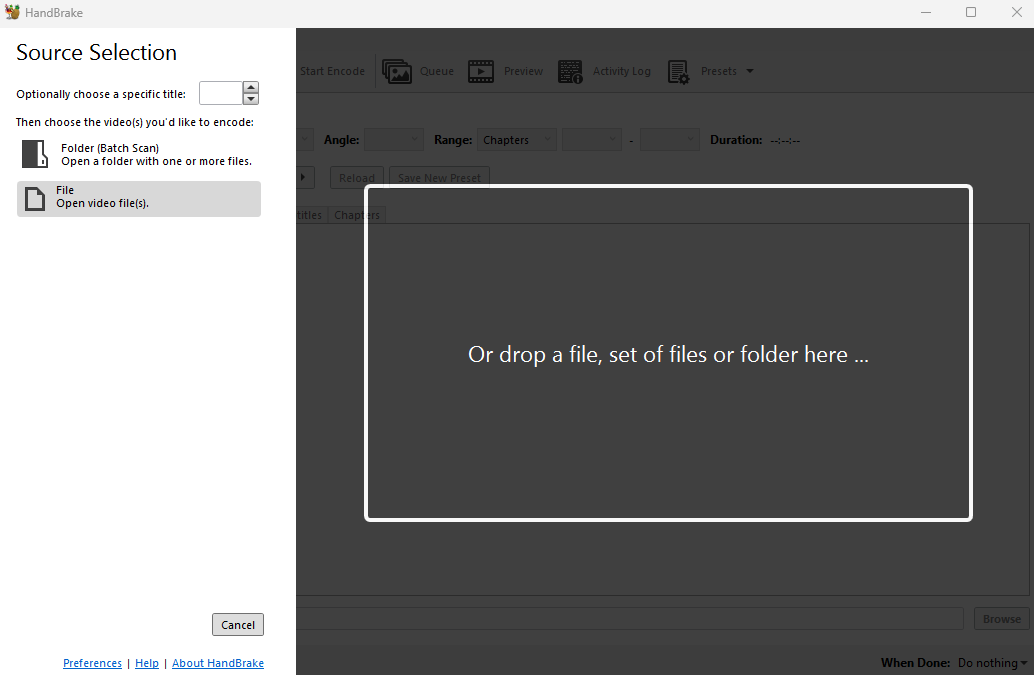
- The application should open normally now. You'll notice Handbrake has a very intuitive UI, contrary to what you might expect from an open-source tool. Start by selecting a video to process by using the File option.
- Once you select the video, the interface will change. There will be a lot of options on the screen, but you actually don’t need to bother with them. HandBrake will select the optimal settings based on the video quality, ensuring a more efficient file size without sacrificing quality.
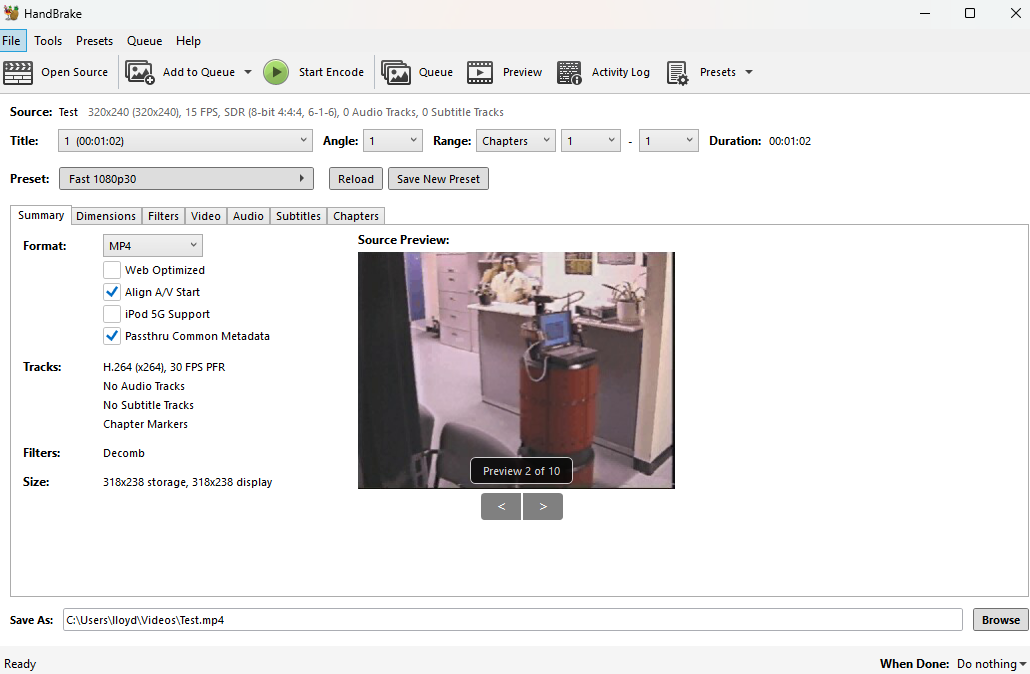
- When you are satisfied with the settings (and the file name specified at the bottom), click on the green Encode button at the top. HandBrake will now start converting the video to the target format.
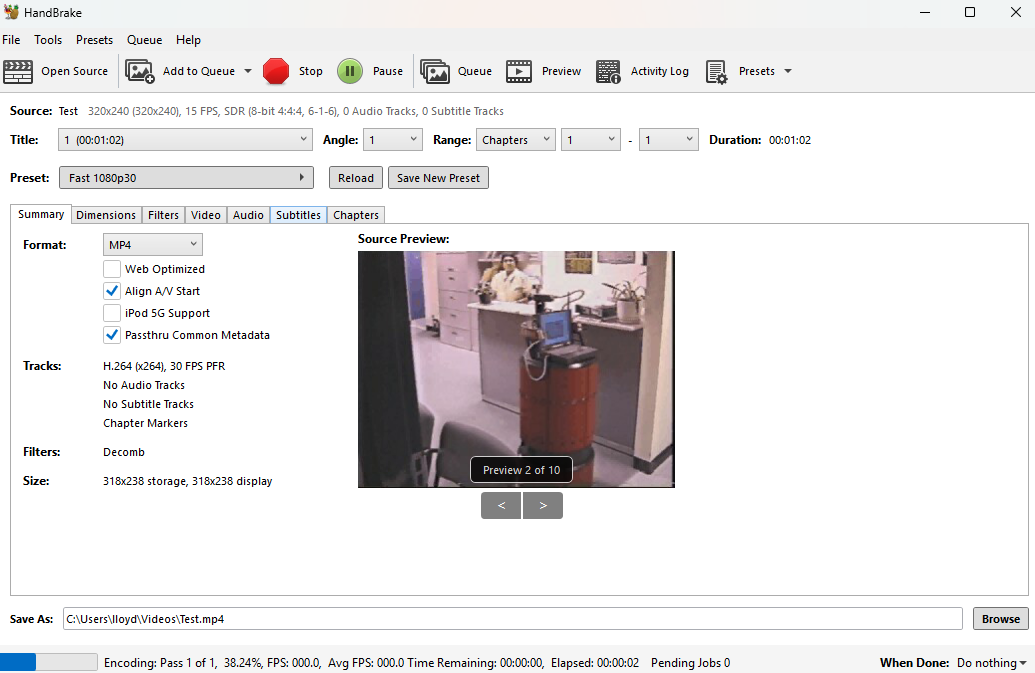
Note that converting or compressing a video is very CPU-intensive. So, depending on the size of the video and the strength of your PC, it may take a while.
The extent of compression can also vary. For our example, we used a 20 MB sample AVI video that was compressed to just about 2 MB, without any apparent loss in visual quality.
Using VLC Media Player to Make a Video Smaller
While HandBrake is dedicated software for compressing videos, it does require you to install a new application. You can also achieve decent results by using VLC media player, which is likely already installed on your PC.
Here are the steps for compressing a video using VLC:
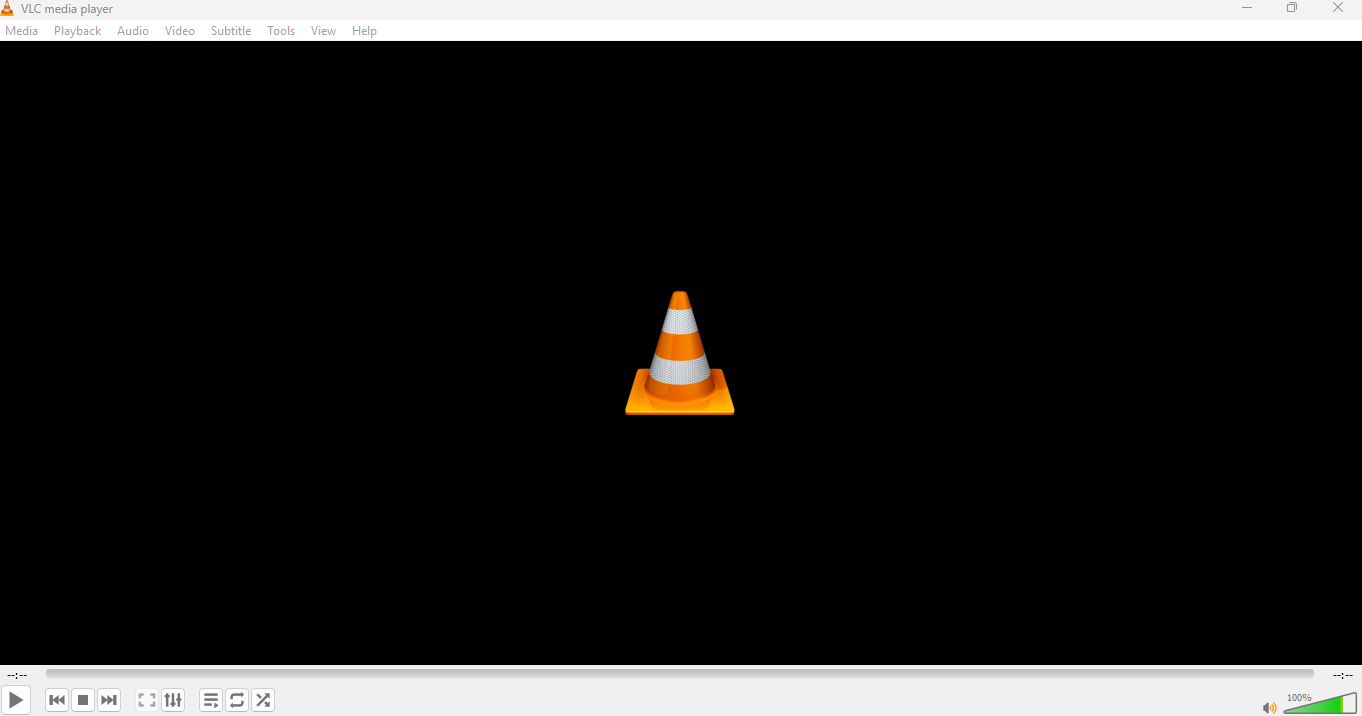
- Start by opening the VLC media player.
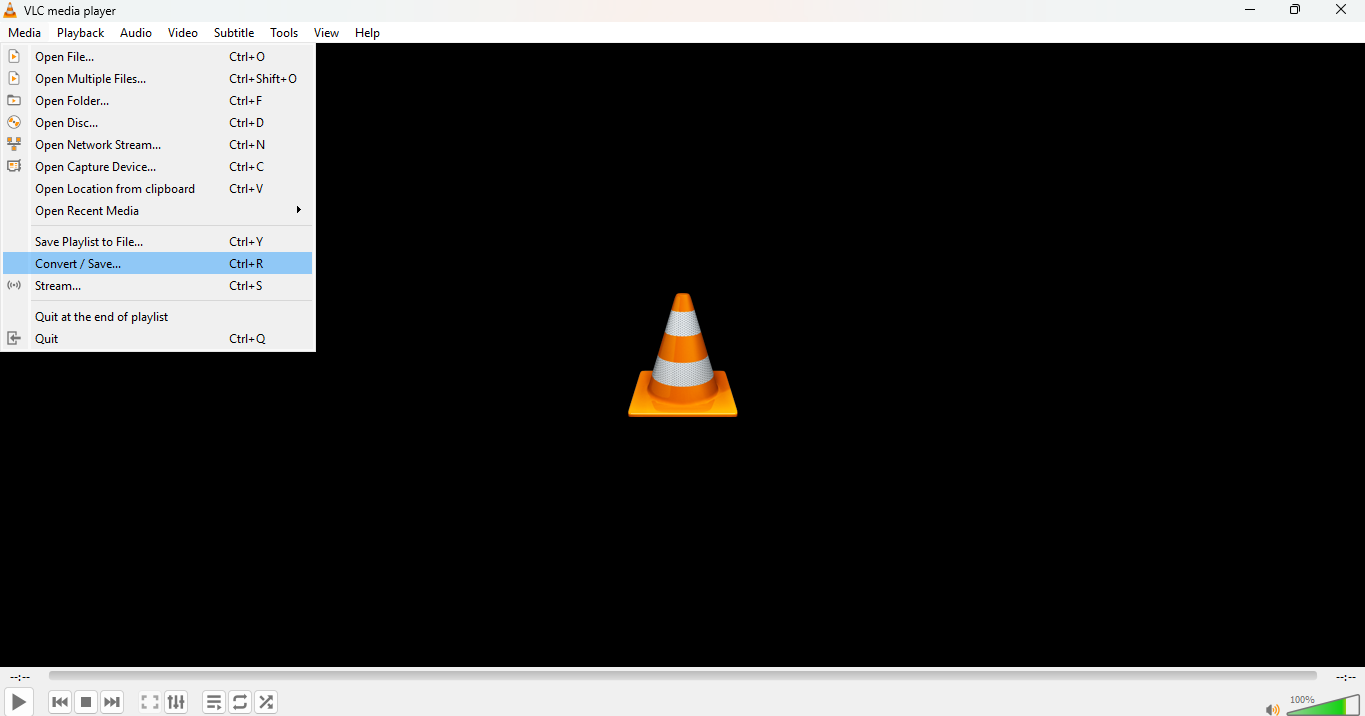
- Select the Media > Convert/Save option.
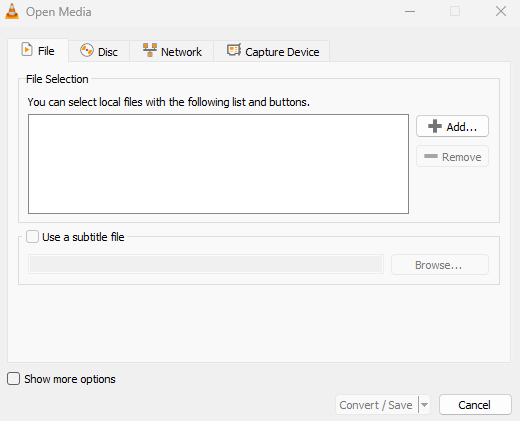
- A new window will appear prompting you to add a video file to convert. Use the Add button to select the video you want to compress, and then hit the Convert/Save button at the bottom.
- Now we come to the part where we customize the video settings. There are only two fields—the profile and the destination file name.
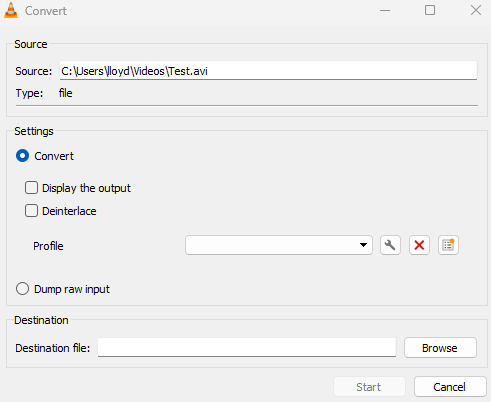
- The profile lists a variety of options, but in most cases, we are only interested in the MP4 options. Now choosing between H.264 vs H.265 encoding is a trickier decision, but for now, just pick any one.

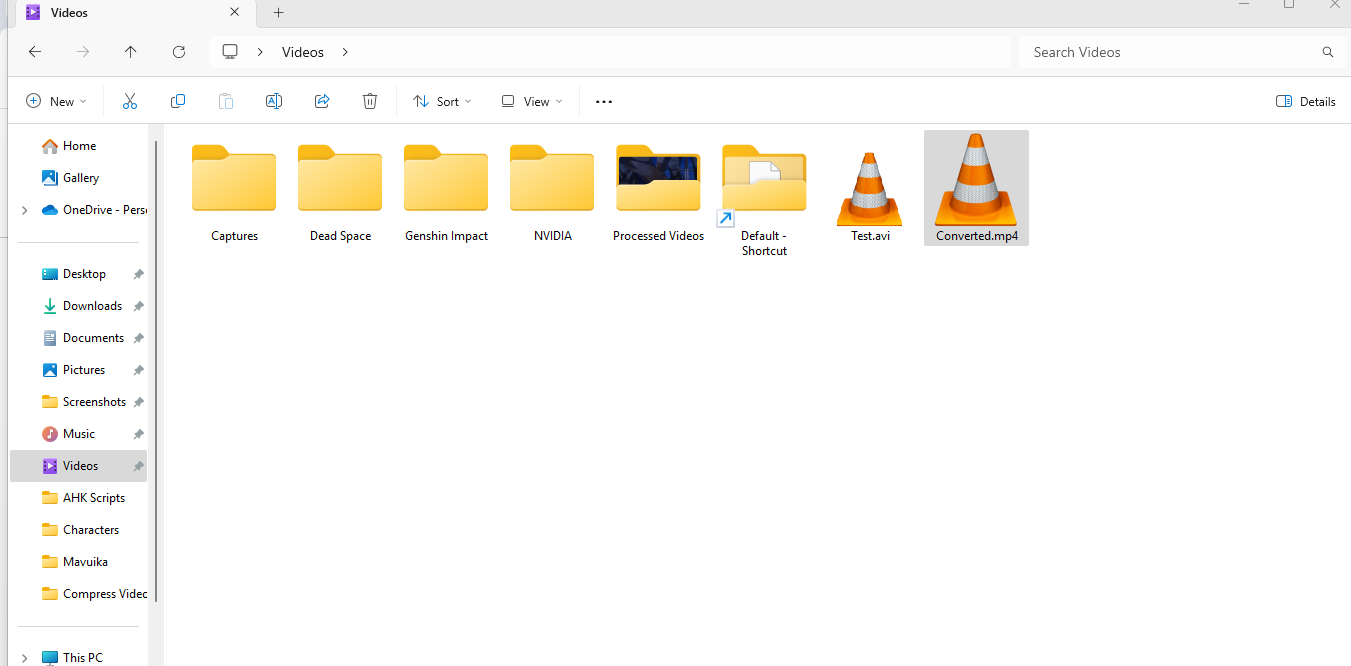
- After selecting a profile and entering a name for the destination file, click on Start to convert and save the video. No progress bar is shown—you simply return to the main screen. You'll find the converted video in the location you selected.
As VLC’s video conversion feature is not as powerful as a full-fledged encoder like HandBrake, your compression gains will not be as significant. For example, our sample AVI video of 20 MB was compressed to around 5 MB by VLC, compared to the 2 MB achieved by HandBrake.
Additional Tips for Effective Video Compression
Video compression isn’t as straightforward as zipping a file. Various settings, such as the resolution, bitrate, and output file format, must be considered.
As you might expect, there is a tradeoff between the video quality and the file size. This means some experimentation might be required to find the right balance.
The codec used is also crucial. MP4 is recommended, of course, but even there, you have two options: H.264 and H.265. Generally speaking, the newer codec (H.265) is more efficient, though it also requires more CPU power to convert and then play.
How to Compress a Video on Mac vs PC
The primary methods we have recommended—HandBrake and VLC media player—work on both Mac and Windows. This means compressing a video on Mac would be the same as outlined above, with a few minor UI differences at best.
MP4 is still the recommended file format for Mac since it yields the smallest sizes. The proprietary Apple video format, MOV, is best for recording and video editing, and tends to run much larger.
Alternative Methods to Share Compressed Videos
Sometimes, even compression isn’t enough to get longer videos below the 25 MB limit. Instead of trying to compress the videos further and sacrifice quality, it might be better to share them using a different method.
One easy alternative is to use a cloud service. You can upload the video to your Google Drive or Dropbox account and then share a link to it.
There are no file size limitations on this method, beyond the limit on how much free storage you get on the cloud server. It is still a good idea to compress the video, though, since a more reasonably sized video can be viewed more easily by your recipient.
Compressing Video for Email: The Takeaway
Video sizes don’t matter much when you store them on your PC, but sending them via email is another matter. Email file attachments have very low limits (25 MB for most services), which means most recorded videos don’t fit.
The solution is to compress videos for email. Compressing a video sounds like a technical process, but thanks to software like HandBrake, it can be simple.
You just need to install the software, choose your video, and hit the encode button. HandBrake fills in some balanced settings by default. The videos are converted to MP4, using a resolution and bitrate that can reduce the size without greatly impacting the viewing experience.
However, if you want to tweak these parameters further, you need more knowledge. Most importantly, you need to understand which codec to use. Even MP4 has two options: H.264 and H.265.
In our upcoming webinar, we will discuss these differences in detail, helping you better understand the codecs and related technical parameters. We will also discuss the ways to achieve the best compression, helping you not only send videos but also stream them effectively.
FAQ
Does Google Drive Compress Video?
Google Drive does not compress the original video file you upload to it. But if anyone tries to play the file directly, the video will be streamed after compression. This compressed video is usually of much poorer quality, so you'll want to download the video and play it on your device instead.
What is the Best Video Format for Email Attachments?
The MP4 format is generally the best for sharing videos through email attachments (or any other method). MP4 videos are small and easily playable on all platforms.
How Can I Compress Videos Without Losing Quality?
If the original video is in a file format like AVI, simply converting it into MP4 would reduce its size greatly without noticeably impacting the visual quality. However, compressing it further will generally lead to some loss of quality. The key is to find the best balance where the impact on quality is minimal.
Are There Free Tools to Compress Video Files for Emails?
Both HandBrake and VLC media players are completely free. You can also try the free versions of online video compression services like VEED.io to compress a video file for email, but this would introduce a watermark.
Photo credit: Getty images/AzFree
- Share to Facebook
-
Share to X/Twitter

- Share to LinkedIn
- Share with Email


.png?sfvrsn=519c2f3c_1)